
Need a Website?
Affordable, Professional, Customizable SolutionsWordPress Website and Design.
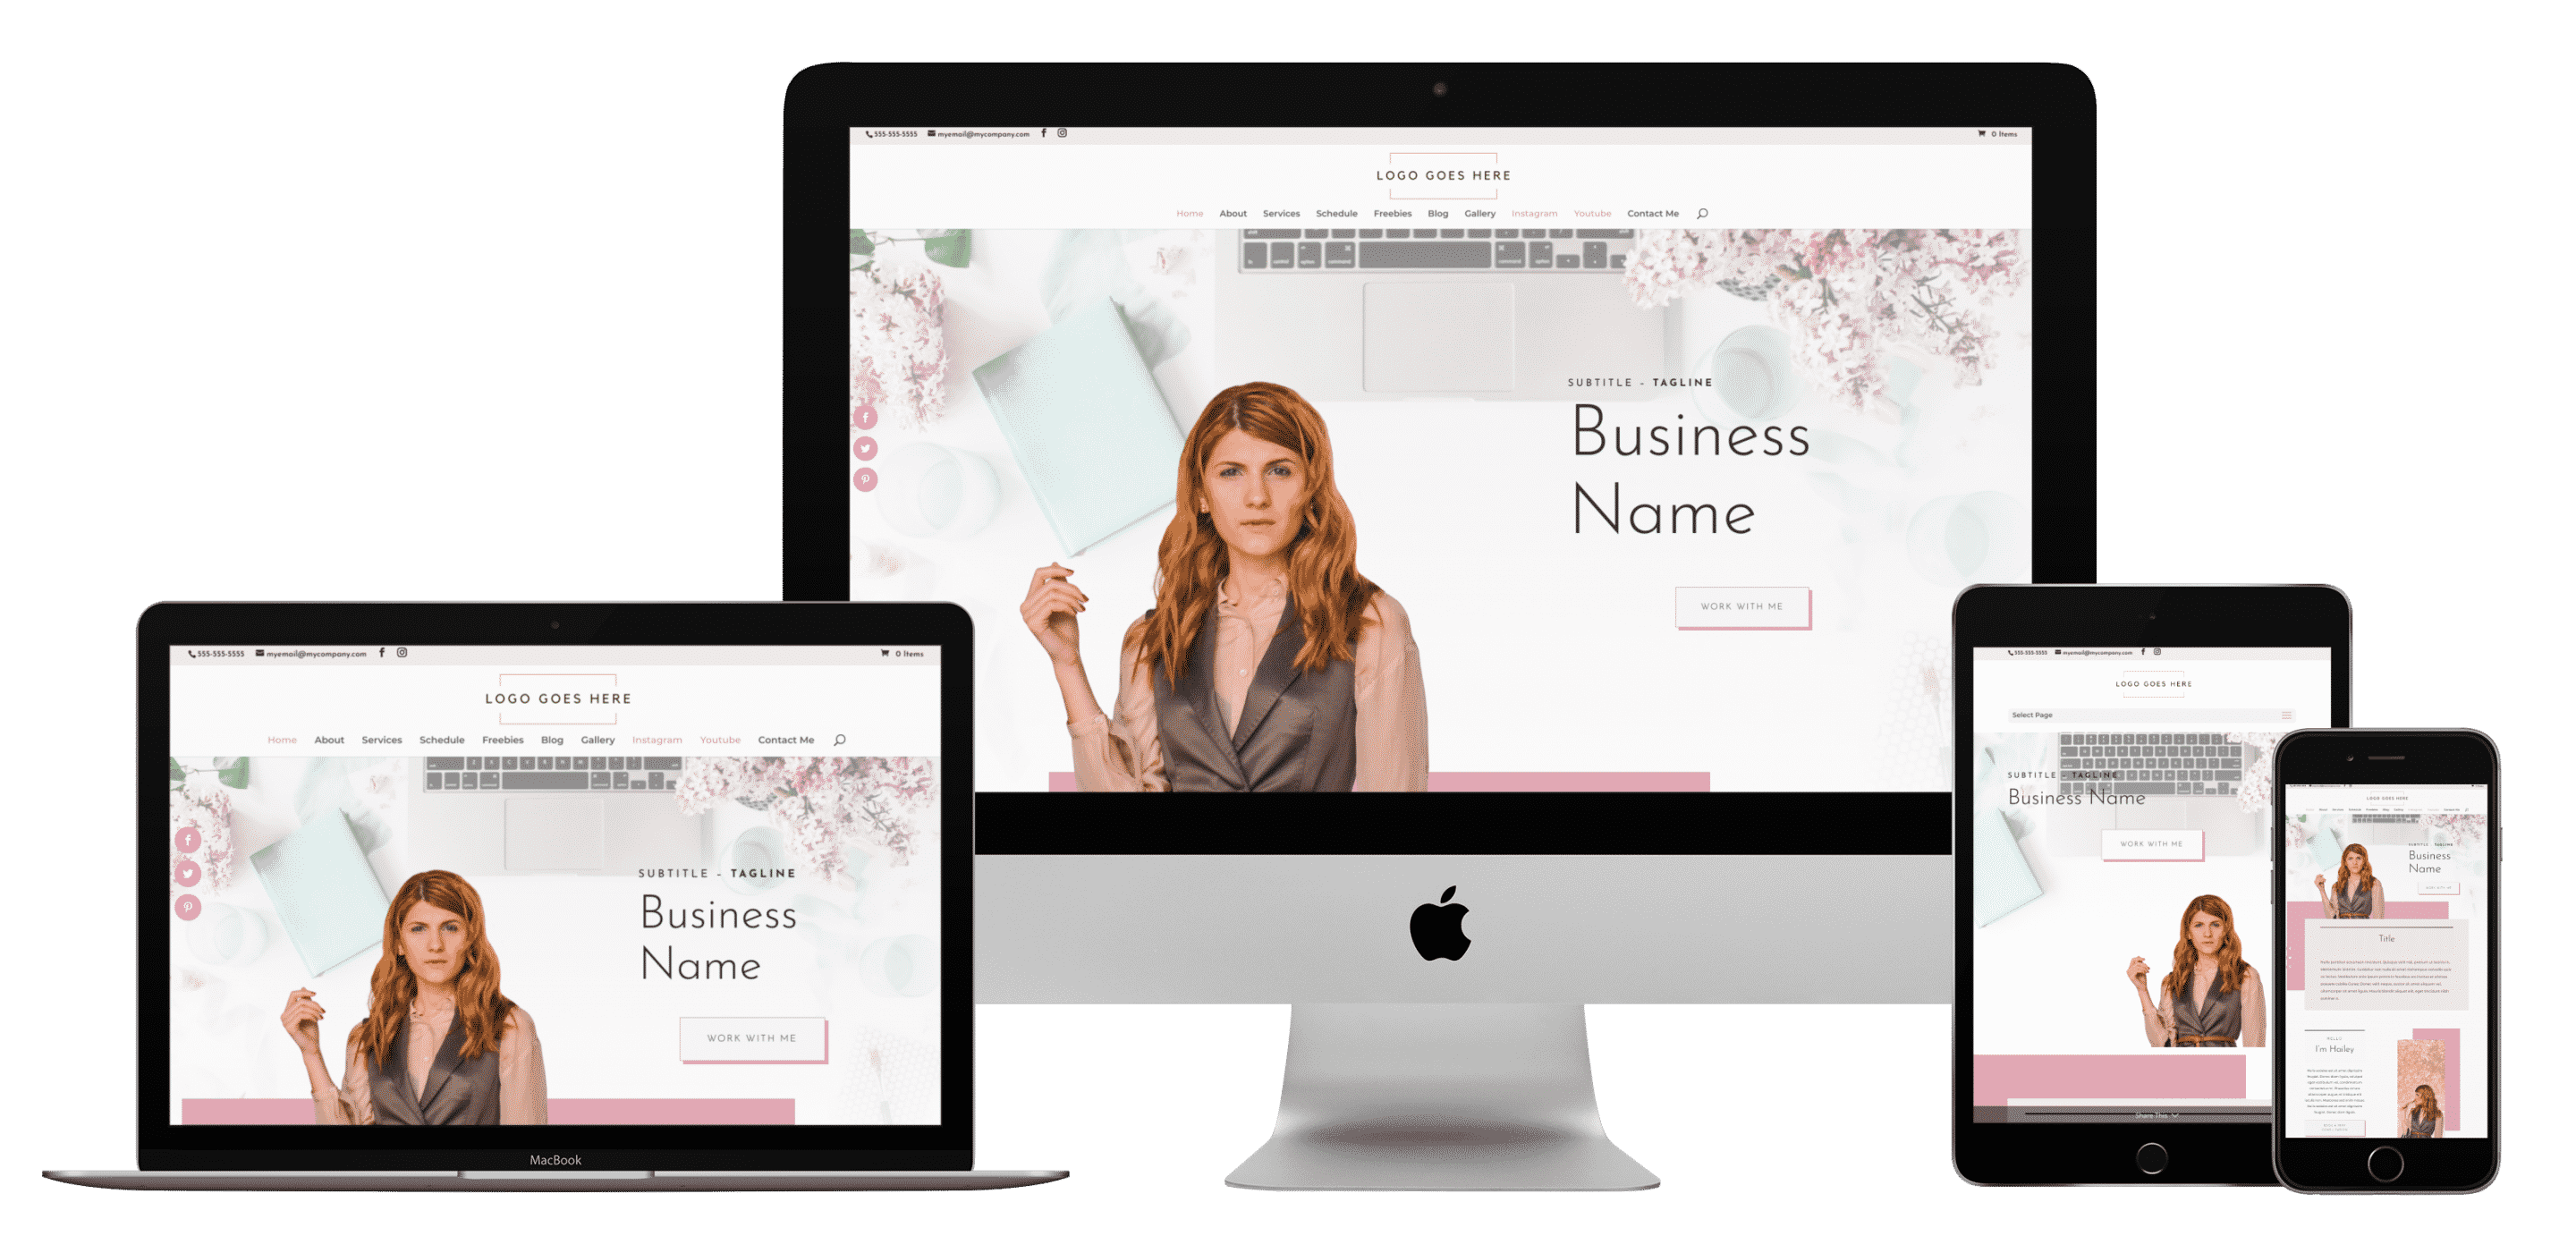
Let's Build a Beautiful Website for Your Business
I want you to have the very best at an affordable price! NO MORE paying THOUSANDS for a beautiful website loaded with all you need from SEO to security and backups. Nope, instead you'll pay only hundreds (for me to complete it for you) or as little as $99 or $147 for a DIY site where you just have to replace the demo content with your own!